By Xander Pero, Contributing Writer
One underrated aspect of the Pokémon TCG—and a skill that I have taken greater interest in as I’ve evolved as a player—is deckbuilding. While in a match, you are constantly adjusting on the fly based on the hand you’re dealt. As you consider the current board state, you aim to maximize your probability of winning by making the correct sequence of plays and following the best path to victory. As such, deckbuilding can be viewed as a preparation skill: you are aiming to build the best possible deck while taking a broad view of the format. This requires identifying a plan for every deck you expect to face, plus cultivating the patience to try new (and potentially outrageous) ideas.

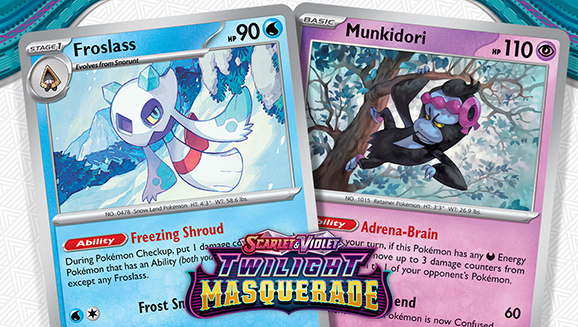
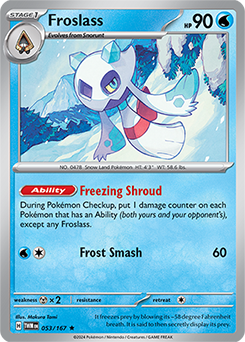
The most recent idea that I’ve obsessed over—and the deck I brought to the North America International Championships—is the Froslass/Munkidori deck, which stars two cards from the recent Scarlet & Violet—Twilight Masquerade expansion. The strategy behind this deck is simple: Using Froslass, I can continuously rack up damage on my opponent’s Pokémon that have Abilities. Munkidori amplifies that damage output in a flexible manner. To make this work, however, I had to consider a lot of factors before playing.
This strategy is a generic but solid gameplan against Ability-based decks. But against decks with main attackers without Abilities, it needs a bit more work. Munkidori can push a decent amount of damage, but getting 3 to 6 damage counters on a bulky Pokémon can be too time-consuming to be effective. So, from a deckbuilding perspective: assuming the base idea is strong, how do we go about improving specific matchups in clever ways?
The most challenging card I expected to face at NAIC was Iron Hands ex. Its Amp You Very Much attack serves as a significant roadblock for this deck because it speeds up the game, therefore reducing the number of turns Froslass’s Ability can spread damage. Iron Hands ex is common in many archetypes, which meant that it isn’t something I could simply ignore.
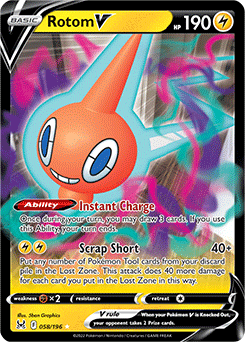
The other central issue threat to this deck concept is that the opponent can simply choose not to put Pokémon with Abilities into play. Sure, cards like Archeops, Teal Mask Ogerpon ex, and Rotom V benefit the opponent, providing consistency and speed. However, without any pressure or sense of urgency, the opponent could take a slower approach and win a drawn-out game. Fundamentally, the biggest flaw outside of Iron Hands ex itself is that the opponent must buy into my strategy. To counter that, I needed an initial attacker that would force the opponent to put these Pokémon into play.
Here's the list I settled on for the North America International Championships:
-
Froslass / Munkidori


-
5Darkness Energy
-
1Psychic Energy
-
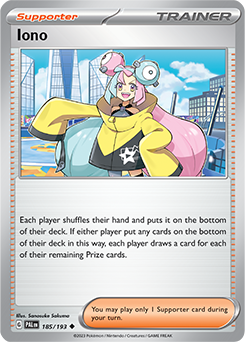
4Iono
-
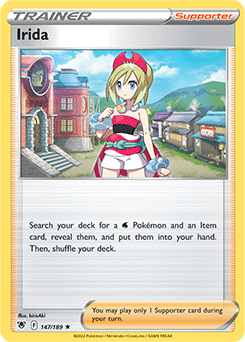
4Irida
-
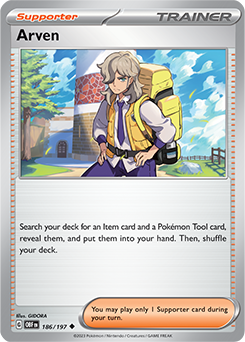
3Arven
-
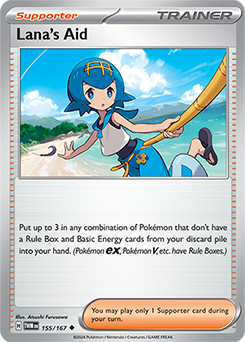
1Lana’s Aid
-
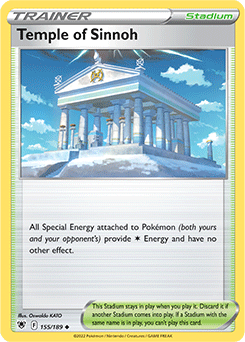
1Temple of Sinnoh
-
3Buddy-Buddy Poffin
-
3Nest Ball
-
2Counter Catcher
-
2Earthen Vessel
-
2Switch Cart
-
2Ultra Ball
-
1Forest Seal Stone
-
1Hisuian Heavy Ball
-
1Rescue Board
-
1Supereffective Glasses
-
1Super Rod
-
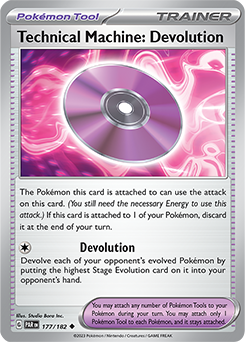
1Technical Machine: Devolution
-
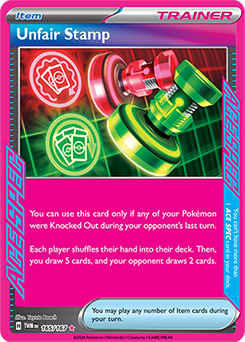
1Unfair Stamp

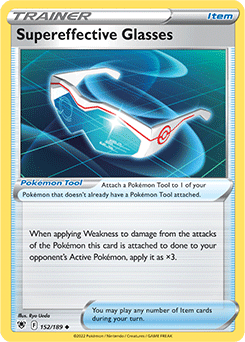
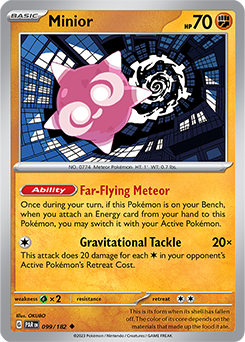
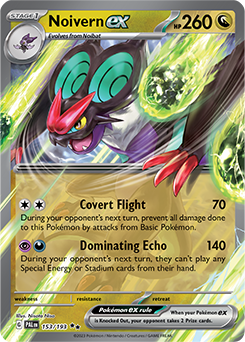
I initially started with a list I saw online and ended up here. My solution to the Iron Hands ex problem is using Minior plus Supereffective Glasses, which can do exactly 240 damage and is easy to find with Arven. My initial attacker of choice is Noivern ex, which forces Basic-oriented decks to dig for ways to deal with its Covert Flight attack. Plus, its Dominating Echo attack forces Lugia VSTAR to use Summoning Star. I already played Darkness Energy for Munkidori, so switching one out for a single Psychic Energy was no big deal. I even attacked with Munkidori’s Mind Bend a few times!
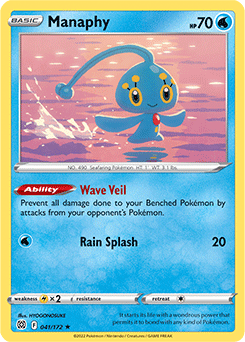
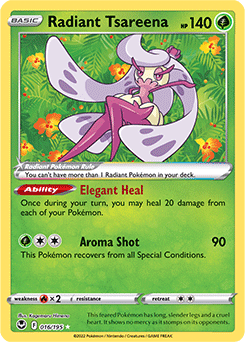
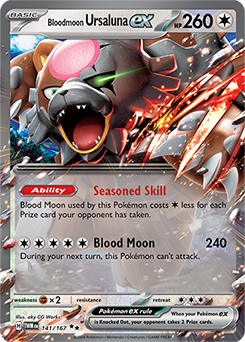
Some crucial cards to mention are Radiant Tsareena, Bloodmoon Ursaluna ex, and Unfair Stamp. In some games, your Froslass will begin to heavily damage your own Pokémon, such as Manaphy or Jirachi. Radiant Tsareena can heal them quicker than Munkidori. Bloodmoon Ursaluna ex is your finishing attacker, and it can also serve as a wall on final turns, potentially giving you a second turn of attacking. Finally, Unfair Stamp is our ACE SPEC card of choice because it enables all Irida and Arven as draw options.
Recapping my NAIC experience, I finished 5-3-1 after a 5-0 start. The wheels fell off the wagon in the later rounds due to a mix of luck, poor preparation, and one or two silly mistakes. It was certainly disappointing to say the least, but the experience highlighted cracks in a few of my gameplans. In those last four rounds, I had two losses to Lost Box variants, one loss to Raging Bolt ex, and a tie against Dragapult ex/Charizard ex.
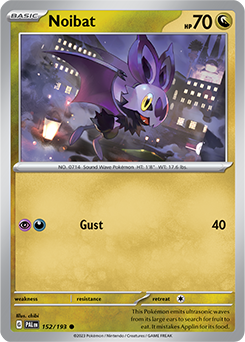
The common theme amongst these matches is that I was unable to set up a board quickly enough. My opponents were able to consistently Knock Out Noibat with Prime Catcher or Boss’s Orders. In the Dragapult ex matchup, I didn’t find Froslass on turn two, so both of my Snorunt were swiftly Knocked Out on the following turn.
These results led me to reconsider my reliance on Noivern ex. Its inclusion was not to immediately win the game against Basic-oriented decks, but instead to serve as an initial attacker that could pressure opponents while I set up Froslass. Because I was focused on finding and attaching Energy to Noibat, I had to forsake Froslass on these initial turns, meaning that my opponents were taking free Prize cards without Freezing Shroud accumulation. If I had a better opening hand, I could have set up at least one Froslass at the same time and possibly could have won these games. All in all, valuable lessons were learned.
Here's a slightly different list (and how I now prefer the deck to be played):
-
Froslass / Munkidori
-
6Darkness Energy
-
4Iono
-
4Irida
-
3Arven
-
1Lana’s Aid
-
1Temple of Sinnoh
-
3Buddy-Buddy Poffin
-
3Nest Ball
-
2Counter Catcher
-
2Earthen Vessel
-
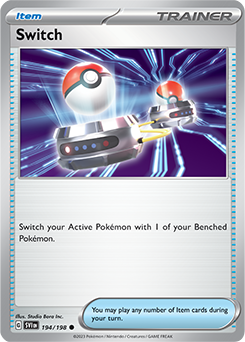
2Switch
-
2Ultra Ball
-
1Forest Seal Stone
-
1Hisuian Heavy Ball
-
1Rescue Board
-
1Supereffective Glasses
-
1Super Rod
-
1Technical Machine: Devolution
-
1Unfair Stamp
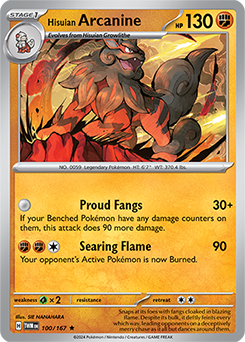
The most notable change in this post-NAIC version is the inclusion of Hisuian Arcanine. I didn’t have time to try this card before the tournament, but I have since realized that it performs a similar role as Noivern ex but does it better. While it cannot completely block Basic Pokémon as well as Noivern ex can and is easier to Knock Out, Hisuian Arcanine takes fewer resources to develop and gives up a single Prize card against Noivern ex’s two. I play a 2–2 line so that I can draw into the pieces more often. Although Hisuian Arcanine can Knock Out Iron Hands ex, I kept Minior and Supereffective Glasses because Hisuian Arcanine must wait until turn three, which may be too late. Gengar from Sword & Shield—Lost Origin can allow you to attack with Hisuian Arcanine on turn two, but I find it harder to utilize than Minior. So basically, there are pros and cons to both.
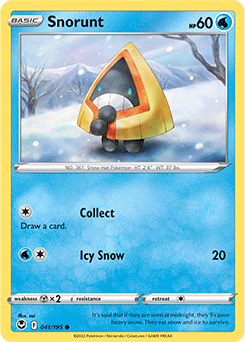
The other cards I dropped outside of Noivern ex are Mawile and the fourth Froslass. Mawile’s main use was buying a turn when paired with Unfair Stamp and Counter Catcher, but I found that this combo was usually too hard to pull off. I had chosen to include four Froslass at NAIC so that it was more likely to find that card naturally, but three proved to be enough.
Matchup-Specific Strategies
Despite this deck’s inherent simplicity, it actually ends up being quite difficult to play perfectly! Often, games are won or lost by a single turn so it’s important to place damage with Munkidori optimally. Based on how the opponent is playing, you’ll need to react accordingly and find your path to victory. I’ll talk about specific matchup strategy with the Hisuian Arcanine list, as it is the one I would use moving forward.
Gardevoir ex
Gardevoir ex can be difficult because they often accompanied by their own Munkidori and Cresselia duo that can heal the damage accumulated by Froslass. To combat that effect, set up two Froslass as soon as possible before using Adrena-Brain and Technical Machine: Devolution to devolve all of your opponent’s Kirlia to Ralts, and then Knock Out their Gardevoir ex via Devolution. If you do this, the opponent cannot establish another Gardevoir ex in a single turn. From there, you should be able to continuously Knock Out one Kirlia at a time with Adrena-Brain, which should stifle the opponent’s draw power, before you eventually win the late game with a combination of Bloodmoon Ursaluna ex and Iono.

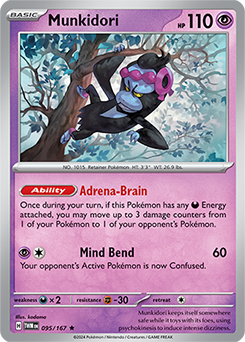
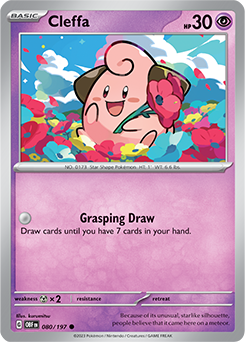
Rotom V is your best friend; you should avoid using Cleffa because Adrena-Brain can pick it off easily. If the opponent goes after Rotom V, then your Froslass and Munkidori are safe. Hisuian Arcanine is a solid attacker to Knock Out Kirlia, Cresselia, or Munkidori, but make sure to consider their Resistance to Fighting types. Your ideal board on the initial turns involve two to three Snorunt, two Munkidori, and one Rotom V.
Lugia VSTAR
Typically, you’ll win this game by taking two Prize cards on one Pokémon—two from both Archeops and a final two with Bloodmoon Ursaluna ex. Use Froslass and Munkidori to constantly push damage to the opponent’s Archeops, speeding up the clock on the game. A Minior and Supereffective Glasses combo is your go-to for Knocking Out Iron Hands ex. At some point, you’ll likely also need to use Iono, with the hope the opponent doesn’t draw Boss’s Orders or the specific card they need. Your best bet is to save Temple of Sinnoh until the end to shut off Gift Energy. Another strategy I’ve employed often is to use Iono to get my opponent down to one card, promote Bloodmoon Ursaluna ex, and then not attack! Depending on the opponent’s board, this can be a better decision than activating Gift Energy if you are unable to find Temple of Sinnoh.

You should look to use Cleffa instead of Rotom V to give up fewer Prize cards. Also, you should be wary of Wellspring Mask Ogerpon ex, so be sure to put Manaphy on your Bench ASAP. If the opponent is choosing not to use Summoning Star and is manually attaching each Energy, establish Hisuian Arcanine to put on pressure. Despite Lugia VSTAR’s Resistance, 90 damage is still a decent amount.
Lost Box
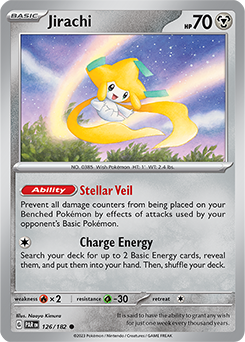
Now that we aren’t reliant on Noivern ex, our main strategy involves setting up two Froslass, then using Manaphy and Jirachi to protect our Bench. Munkidori and Radiant Tsareena allow you to heal and protect these Pokémon long enough for the opponent’s Comfey to be Knocked Out by Freezing Shroud. Hisuian Arcanine is your best attacker because it Knocks Out the majority of the Pokémon usually found in this archetype and survives an attack from Cramorant. Moreover, a timely Unfair Stamp can slow down the opponent, especially when Knocking Out their Comfey simultaneously.

Though it might seem counterintuitive, Cleffa is our support Pokémon of choice. Manaphy and Jirachi can both protect our Bench from harm, meaning that the opponent will need to waste an attack. Using Rotom V gives the opponent a way to take two Prize cards with one attack.
Raging Bolt ex / Teal Mask Ogerpon ex
If the opponent puts at least four Prize cards worth of Pokémon in play that have Abilities, such as Squawkabilly ex and Teal Mask Ogerpon ex, you should fully invest in setting up two or three Froslass. Assuming you’re able to take four Prize cards there, you can pick up your remaining two with Bloodmoon Ursaluna ex when the opponent has one or two Prize cards remaining. If the opponent instead plays it slow, choosing to attach and attack without putting other Pokémon into play, you should turn up pressure with Hisuian Arcanine. Even if they do fill their board, the 120 damage can go a long way and gives you more freedom with your spare Adrena-Brain damage.

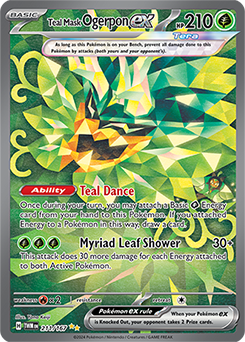
As you might expect, Cleffa is the support Pokémon of choice. I’d encourage you to put two Snorunt in action, assuming that the opponent will put targets into play. If they then decide to play it slow, you have time to establish Hisuian Arcanine and begin attacking. Moreover, because Hisuian Arcanine requires damage on your side of the field, you must always have Froslass in play the turn before you start attacking, which further incentivizes a quick Froslass or two.
Dragapult ex Variants
Your strategy will change depending on the other Pokémon in the opponent’s deck. If the opponent doesn’t have other attackers, you can freely move back the additional six damage counters from Dragapult ex’s attack using Munkidori and heal the rest with Radiant Tsareena. On the other hand, if they have another attacker like Charizard ex, this strategy doesn’t work because they can attack with it instead.

I recommend trying to set up two Froslass. With two, the opponent cannot Knock Out both in one turn with Dragapult ex’s secondary damage counters. You can then use Munkidori and Radiant Tsareena to heal your board, eventually building up damage counters for Technical Machine: Devolution. Your ideal plan would be to take a few Prize cards with Technical Machine: Devolution, then the remaining two with Bloodmoon Ursaluna ex to close the game.
I prefer to set up Rotom V over Cleffa, but either one is suitable. If the opponent chooses to use their six damage counters to Knock Out Cleffa, they aren’t placing the damage counters on a more valuable target. If you’d like to make this matchup slightly more favorable, you could add a second copy of Technical Machine: Devolution. This could be warranted moving forward if these decks increase in popularity.
Planning for the Future: Scarlet & Violet—Shrouded Fable
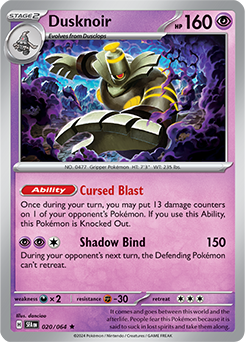
The upcoming Scarlet & Violet—Shrouded Fable expansion offers a few interesting cards for this archetype. Dusclops and Dusknoir provide additional ways to place damage counters as an Ability, but I’m unsure if they have a home in this deck because their Abilities speed up the game. The best comparison would be a turn of attacking with Hisuian Arcanine, which would facilitate an additional turn of Froslass damage.
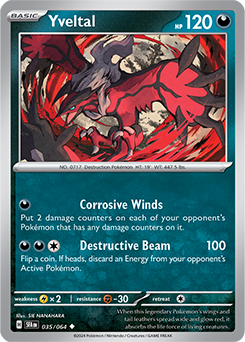
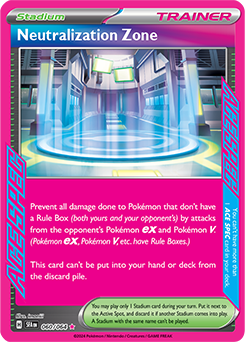
Yveltal is the card I am most excited for, Its attack places two additional damage counters on each of the opponent’s Pokémon that has a damage counter on them, which is great for speeding up the spread gameplan. It’s also easy to use once or twice in a row with Super Rod or Lana’s Aid. Another card that could be useful is the new ACE SPEC card Neutralization Zone Stadium. Completely nullifying opposing Pokémon ex and Pokémon V is an incredibly powerful effect, much like Unfair Stamp.
Final Notes
Taking an offbeat idea and seeing how far it can go is rewarding. Along the way, you’ll come across many challenges, but you’ll also unearth solutions to these problems that make the experience all the better. Even if your idea doesn’t end up as strong as you had hoped, perhaps a shift in the meta, a powerful new card, or a different perspective will be all you need to take it to the next level. At the very least you’ve had fun and improved as a deck-builder ahead of when your next idea comes along. Failure is the essence that fuels future success.
I hope you enjoyed this article and want to give Froslass/Munkidori a try. Or better yet, that you’re motivated to develop your own wacky idea! Evey iconic deck started out as a half-baked idea. And who knows—you could come up with the next deck that’s the talk of the tournament! Let loose, monkey around, and don’t be afraid to have fun along the way.

Xander Pero is a contributing writer for Pokemon.com. He was an avid fan until discovering sanctioned tournaments in 2009. He formerly traveled often for the Top 16 circuit, but now spends his time focusing on university, where he studies industrial engineering. You can find him at various tournaments, as well as on X at @xanderpero.